

Rusty to Ready: The Quick Guide to Cleaning Your Chain with WD-40
Quickly revive any rusty metal chain—bike, motorcycle, or utility—using the powerful penetrating action of WD-40. Rust causes friction and wear; this guide provides a fast, visual, step-by-step process to dissolve stubborn corrosion and grime. Learn how to clean, scrub, and most importantly, properly lubricate your chain afterward to ensure smooth, long-lasting performance. Turn your chain from rusty to ready in minutes!
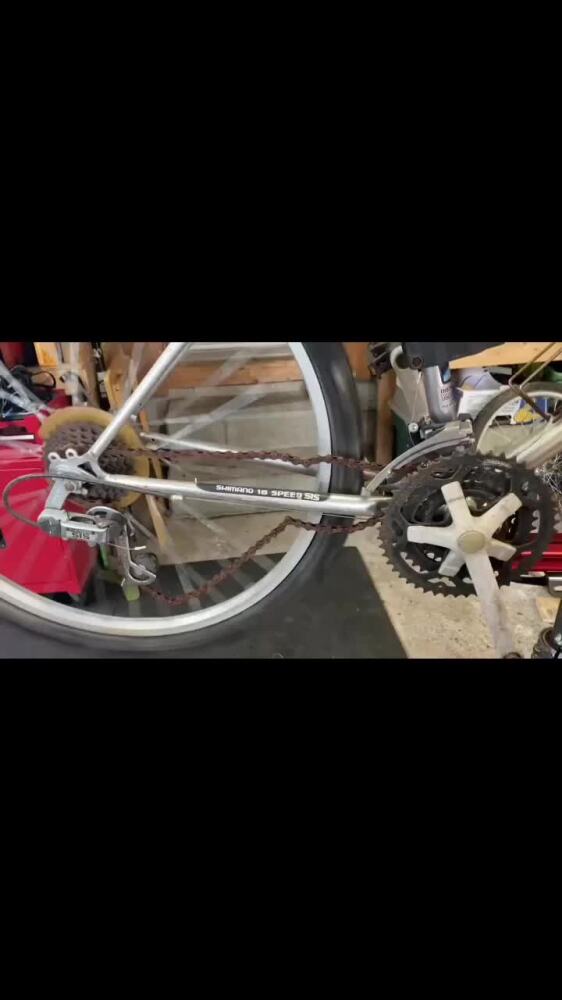
Step 1: Apply Chain Cleaner

Apply a degreaser or chain cleaning solution to the entire length of your bike's chain. You can use a brush or sponge to work the cleaner into the links, which helps to loosen and remove old dirt, grime, and lubricant.
Using WD-40: You can use a penetrating oil like WD-40 in place of a dedicated cleaner to help break down grease and rust. However, remember that WD-40 is a solvent, not a lubricant, so it must be completely rinsed and wiped off in the following steps.
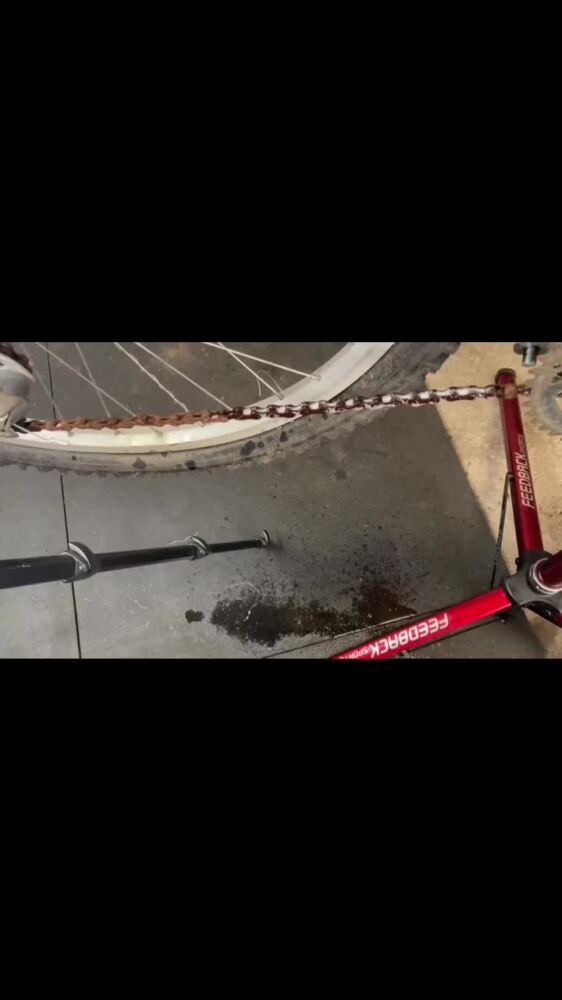
Step 2: Allow the Cleaner to Work and Rinse
Let the cleaner sit for a few minutes, then thoroughly rinse the entire chain with water to wash away the degreaser and all the loosened dirt and grime. This is essential for a clean surface.
Note: If you use a product like WD-40 for cleaning, be sure to completely rinse it off, as it is a solvent and not a long-term lubricant
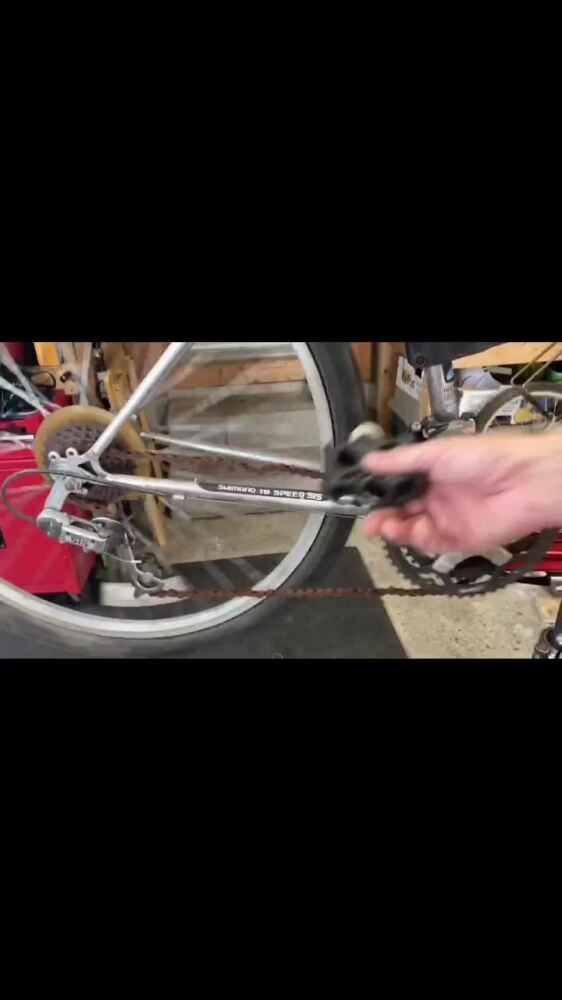
Step 3: Dry the Chain and Check for Issues
Thoroughly wipe down the chain with a clean, dry rag to remove any remaining moisture and residue. The chain must be completely dry before moving to the next step.
While wiping, inspect the chain for any stiff or rusted links. If a link is stuck, gently flex it or use a pair of pliers (as shown in the video) to carefully loosen it.
Important Note on WD-40: If you used WD-40 for cleaning, ensure all of it is wiped away, as any remaining WD-40 will act as a solvent and break down the new chain lubricant you apply in the final step.
Step 4: Apply Chain Lubricant (Lube)
With the chain clean and completely dry, it's time to apply the chain lubricant (lube).
Drip Lube: Slowly pedal the chain backward and apply a single drop of bike-specific chain oil to the top of every single roller/pin. This ensures the oil penetrates the moving parts inside the chain links.
Work it In: Continue pedaling the chain backward for a few rotations to allow the lube to work its way into the links.
Wipe Excess: The most crucial step is to wipe off all the excess lubricant from the outside of the chain using a clean rag. The lube belongs inside the chain; excess oil on the outside will only attract dirt and grime.
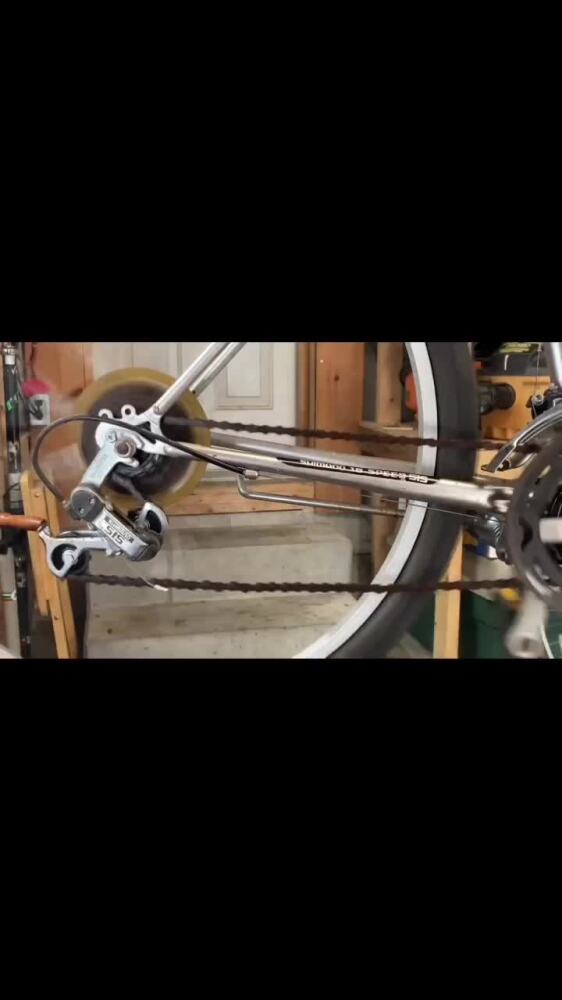
Step 5: Final Check and Clean Up

After lubricating, you should check the chain and shifting:
1.Check for Stiff Links: Manually feel along the entire chain while slowly turning the cranks to ensure all the links are moving smoothly. If you find any stiff links, gently work them loose again.
2.Test Shifting: Shift through all your gears (both front and rear) to confirm that the chain is running smoothly and quietly across the cogs and chainrings.
3.Final Wipe Down: If any excess lube has come to the surface after the test ride or shifting, give the outside of the chain one last quick wipe with a clean cloth.